How to Purchase a Web Domain with Namecheap
In this article, I go over step by step how to purchase a web domain (also known as a web address) from the service namecheap.com.
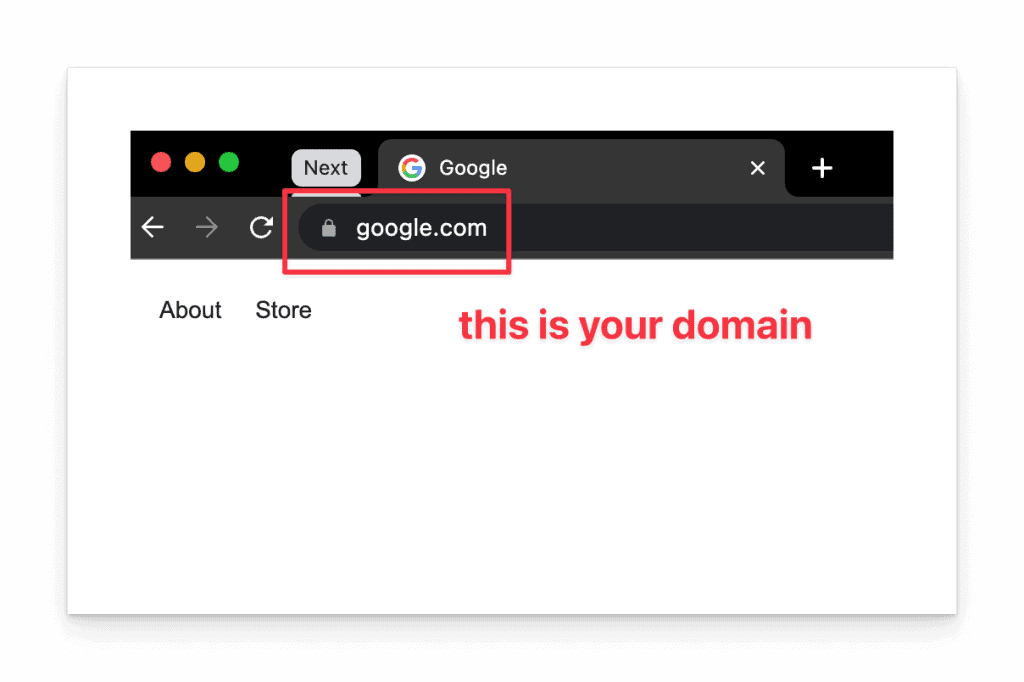
Sign up for a Free Namecheap Account
Start by going to this page and signing up for an account at Namecheap. Sign-up is free. You’ll only ever pay for the domains that you purchase.
Namecheap accounts provide you with a single dashboard for all of your domains if you decide to purchase multiple domain URLs.
Start by filling out the fields of the signup form.

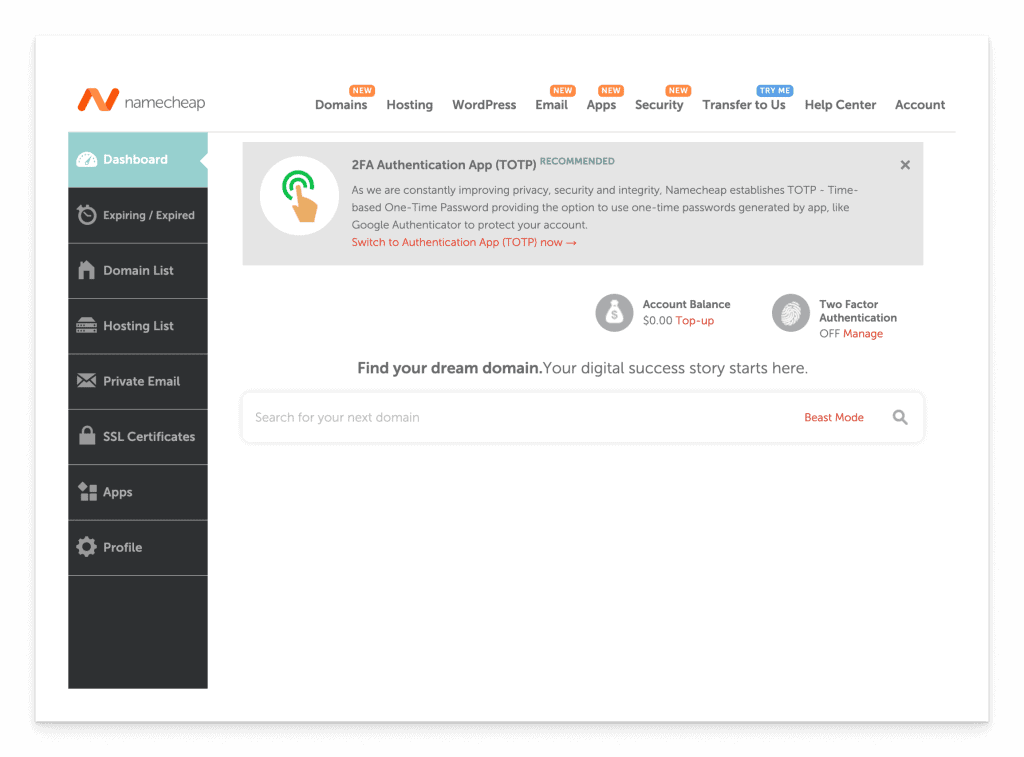
After you click Create Account and Continue button, you will go to the Dashboard
Search for your Domain
In the middle of the dashboard where it says “Search for your next domain” type the web address you want to check the availability.
In this example, I am searching for “hellodavelin.xyz” as a domain since I own the .com already. It turns out .xyz is also available for $2.75/ year. Note that this amount is always the promotional rate and usually lasts a year.
Below that amount, you’ll see the “Retail $16.47/yr” which is what the renewal amount will be 12 months from the date of purchase.
You can pre-purchase multiple years in advance (more on this later) if you don’t want to renew every year, but make sure to check if there are any additional discounts otherwise just keep the renewal to once per year.
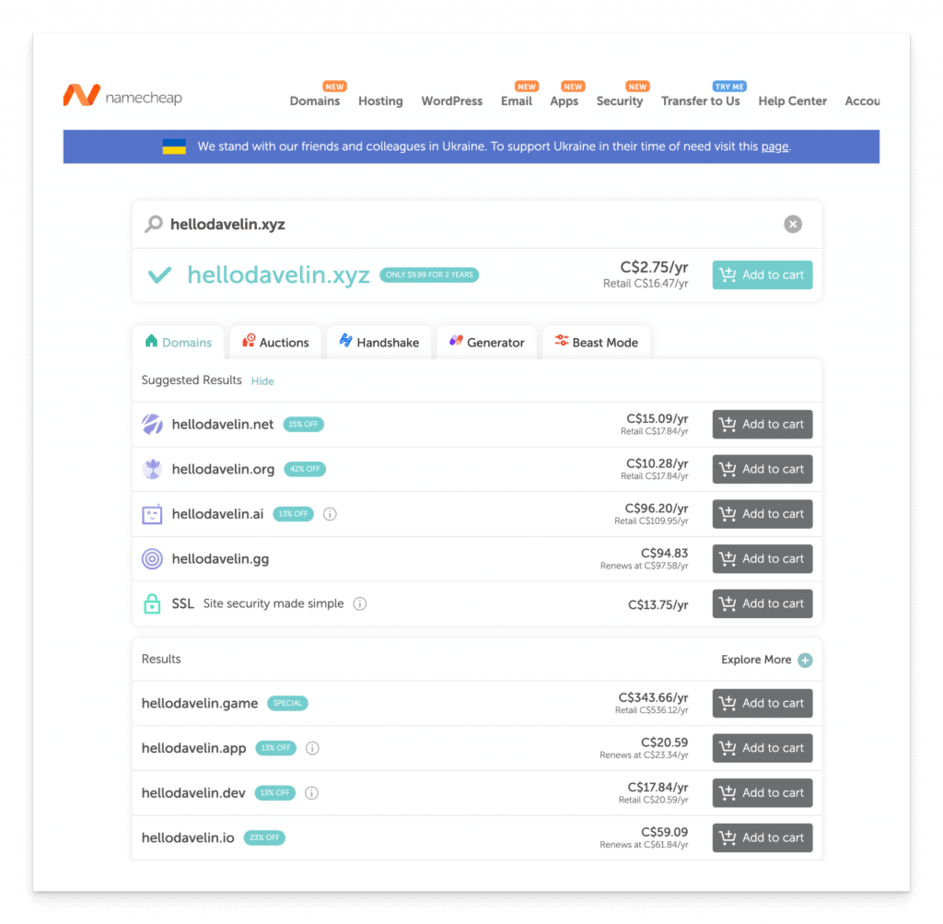
Below the search results are other domains just for comparison or in case the domain you searched for wasn’t available.
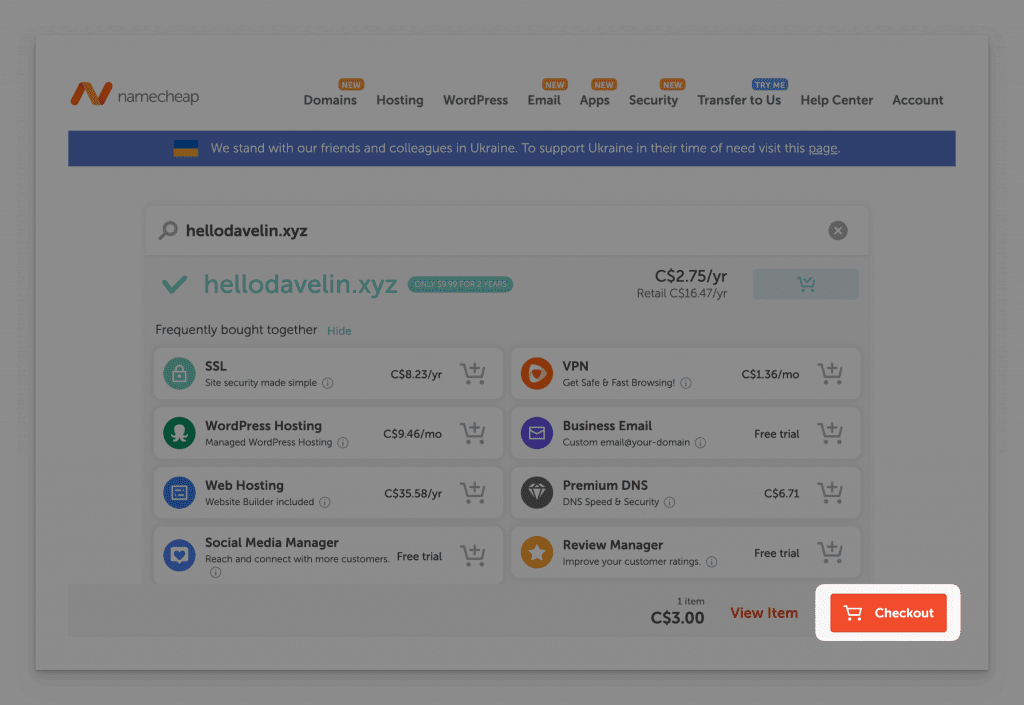
Once you’ve decided on a domain, click Add to Cart and then click the Checkout button. You do not need any of the add-ons at this time.
Confirm the order details on the next screen. See the notes about each section below.

Domain Registration
Select the year drop-down for when you want to renew. By default, it’s 1 year. Paying multiple years upfront doesn’t always guarantee a discount so just make sure to do the math for the different years based on your budget.
Keep the auto-renew toggled on. This makes sure that the domain is automatically paid for each year. If you disable this option, your website will go offline if you forget to renew before the renewal period you set.
Domain Privacy
This helps keep your personal information private such as who registered this domain. By default, they give this to you for free and auto-renew it for free so leave it toggled on though this could change at any time so read the details carefully.
PremiumDNS
If you’re just starting out, you won’t need this additional security option so leave it disabled. This is reserved for high-traffic websites that need additional protection from outside hacks.
When ready, click the Confirm Order button to proceed.
Checkout
If it’s your first time checking out a domain, you’ll need to fill in the Account Contact Information page.

Fill out these fields about your business if applicable and click the Continue button to go to the Whois Contact Information page.
On this page, confirm that the Name, Business name, Address, and other contact information is correct, and then click the Continue button.

On the Payment Method page, add a credit card. You may need to toggle the Card Business Address and billing addresses dropdown to “Add new contact” if your credit card address is different than your business address.
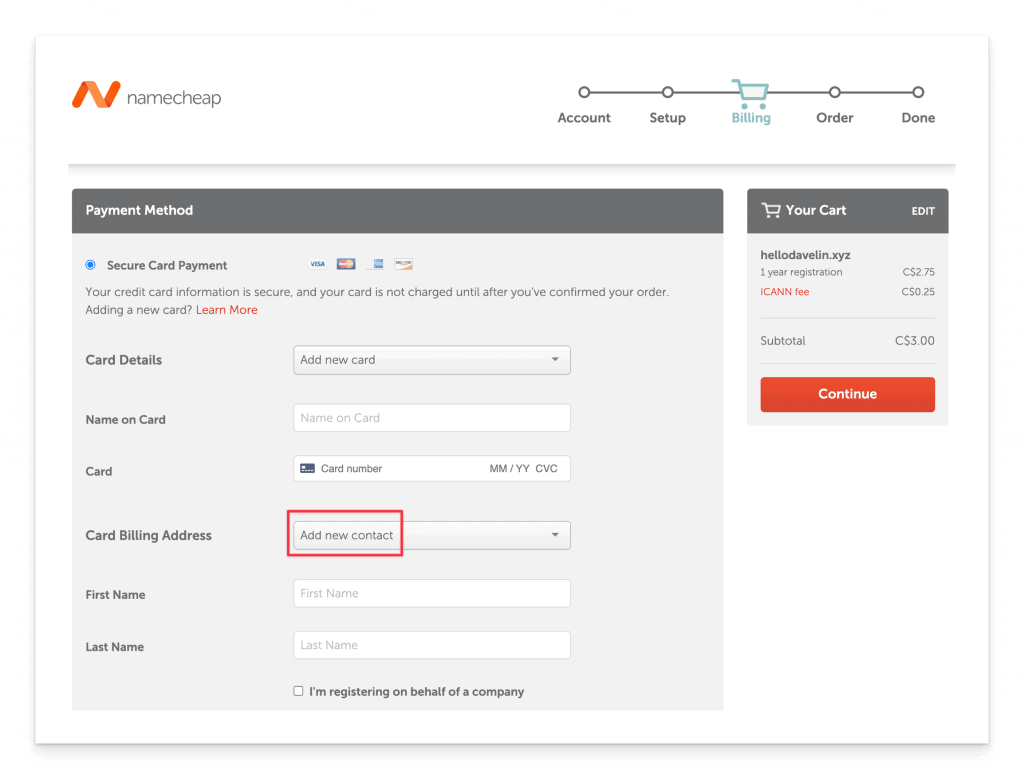
On the same page at the bottom, review the Renewal Settings for Your Purchase section. I just leave these options as default.
Basically saying, only renew the services that I’m signing up for today.

Click the Continue button on the right.
This is the final screen before the credit card is processed. Confirm all of the information and when ready, click Pay Now to complete the purchase.

Once the transaction goes through you can see the confirmation page.

Next Steps
After you purchase your domain, you’ll want to configure the namecheap domain you just purchased to point to your web host (i.e., Siteground, Bluehost).
Why Use Namecheap
While you could purchase your domain from any number of domain registrars (that’s the fancy name for domain provider) I’ve used Namecheap for over a decade and they have never failed me.
Their customer service is prompt and it provides a fairly easy-to-use user interface as well as all of the features I need under one dashboard.
The ability to share permissions is also included with this service so if you need a developer to help with the website you can provide just the permission to specific web addresses as needed.


